

We request the content scopes (
write_content, read_content). We can create and read blog
articles. We cannot see orders, customers, or payment data.Before you start
- You need to be store owner or staff with permission to install apps.
- The store needs an active plan. Shopify refuses app installs on paused, frozen, or cancelled stores — you’ll be redirected to the reactivation page instead of the permission screen.
- Your store needs at least one blog: Shopify admin → Content → Blog posts → Manage blogs.
- Have your permanent domain handy — the
something.myshopify.comone, not your custom domain.
Step 1 — Enter your store domain
Project Settings → Integrations → Shopify → Connect.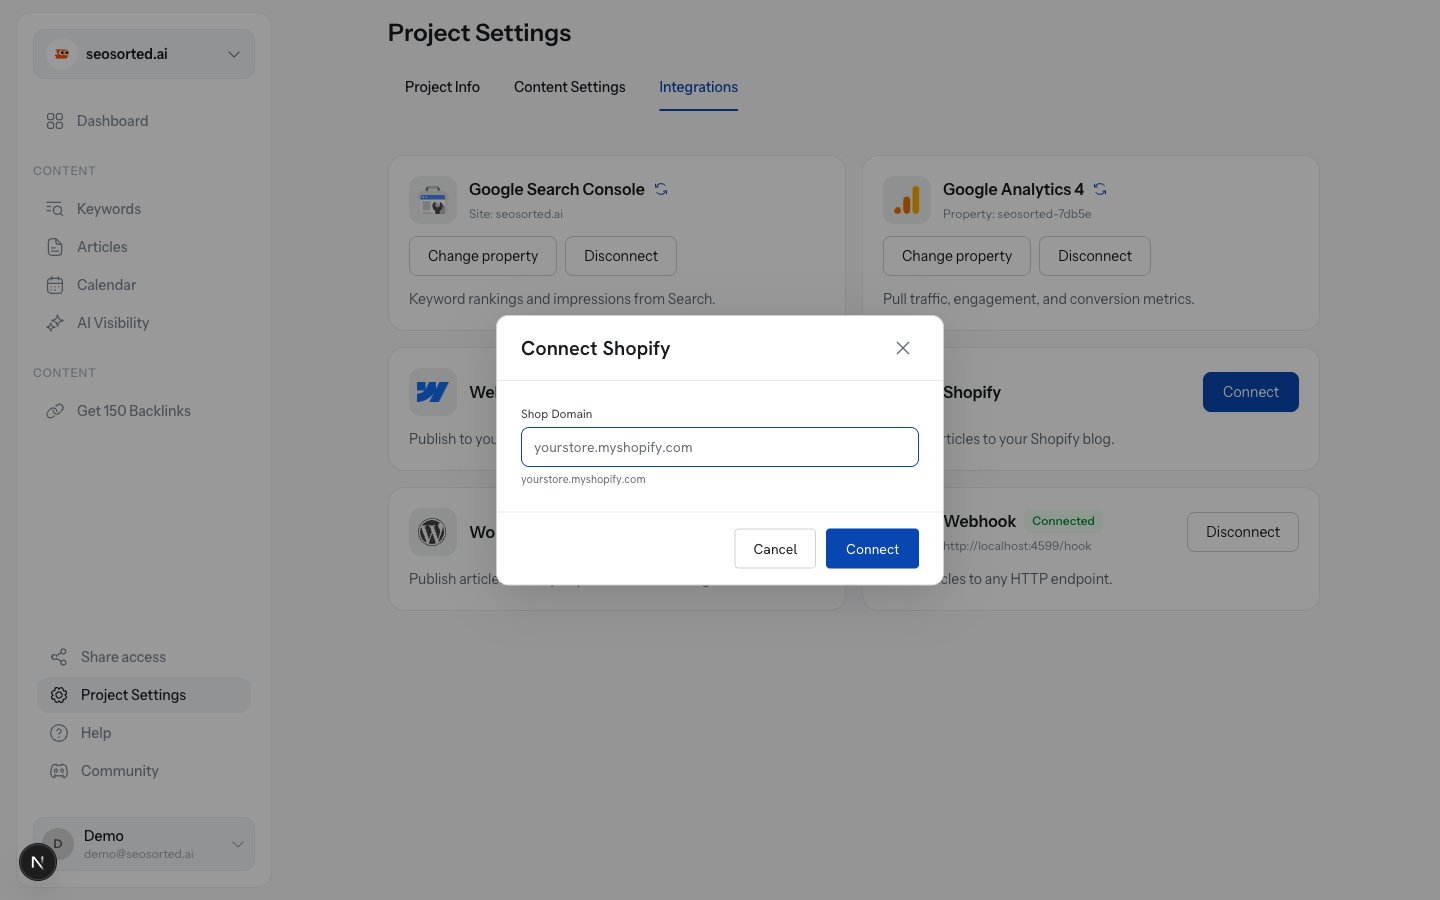
Shopify asks for your permanent .myshopify.com domain
string
required
Your permanent domain, e.g.
seosorted-demo.myshopify.com. Just the store handle
(seosorted-demo) also works — we complete it for you. A full admin URL is fine too; we trim
it.Step 2 — Approve the install
Click Connect and Shopify shows its permission screen.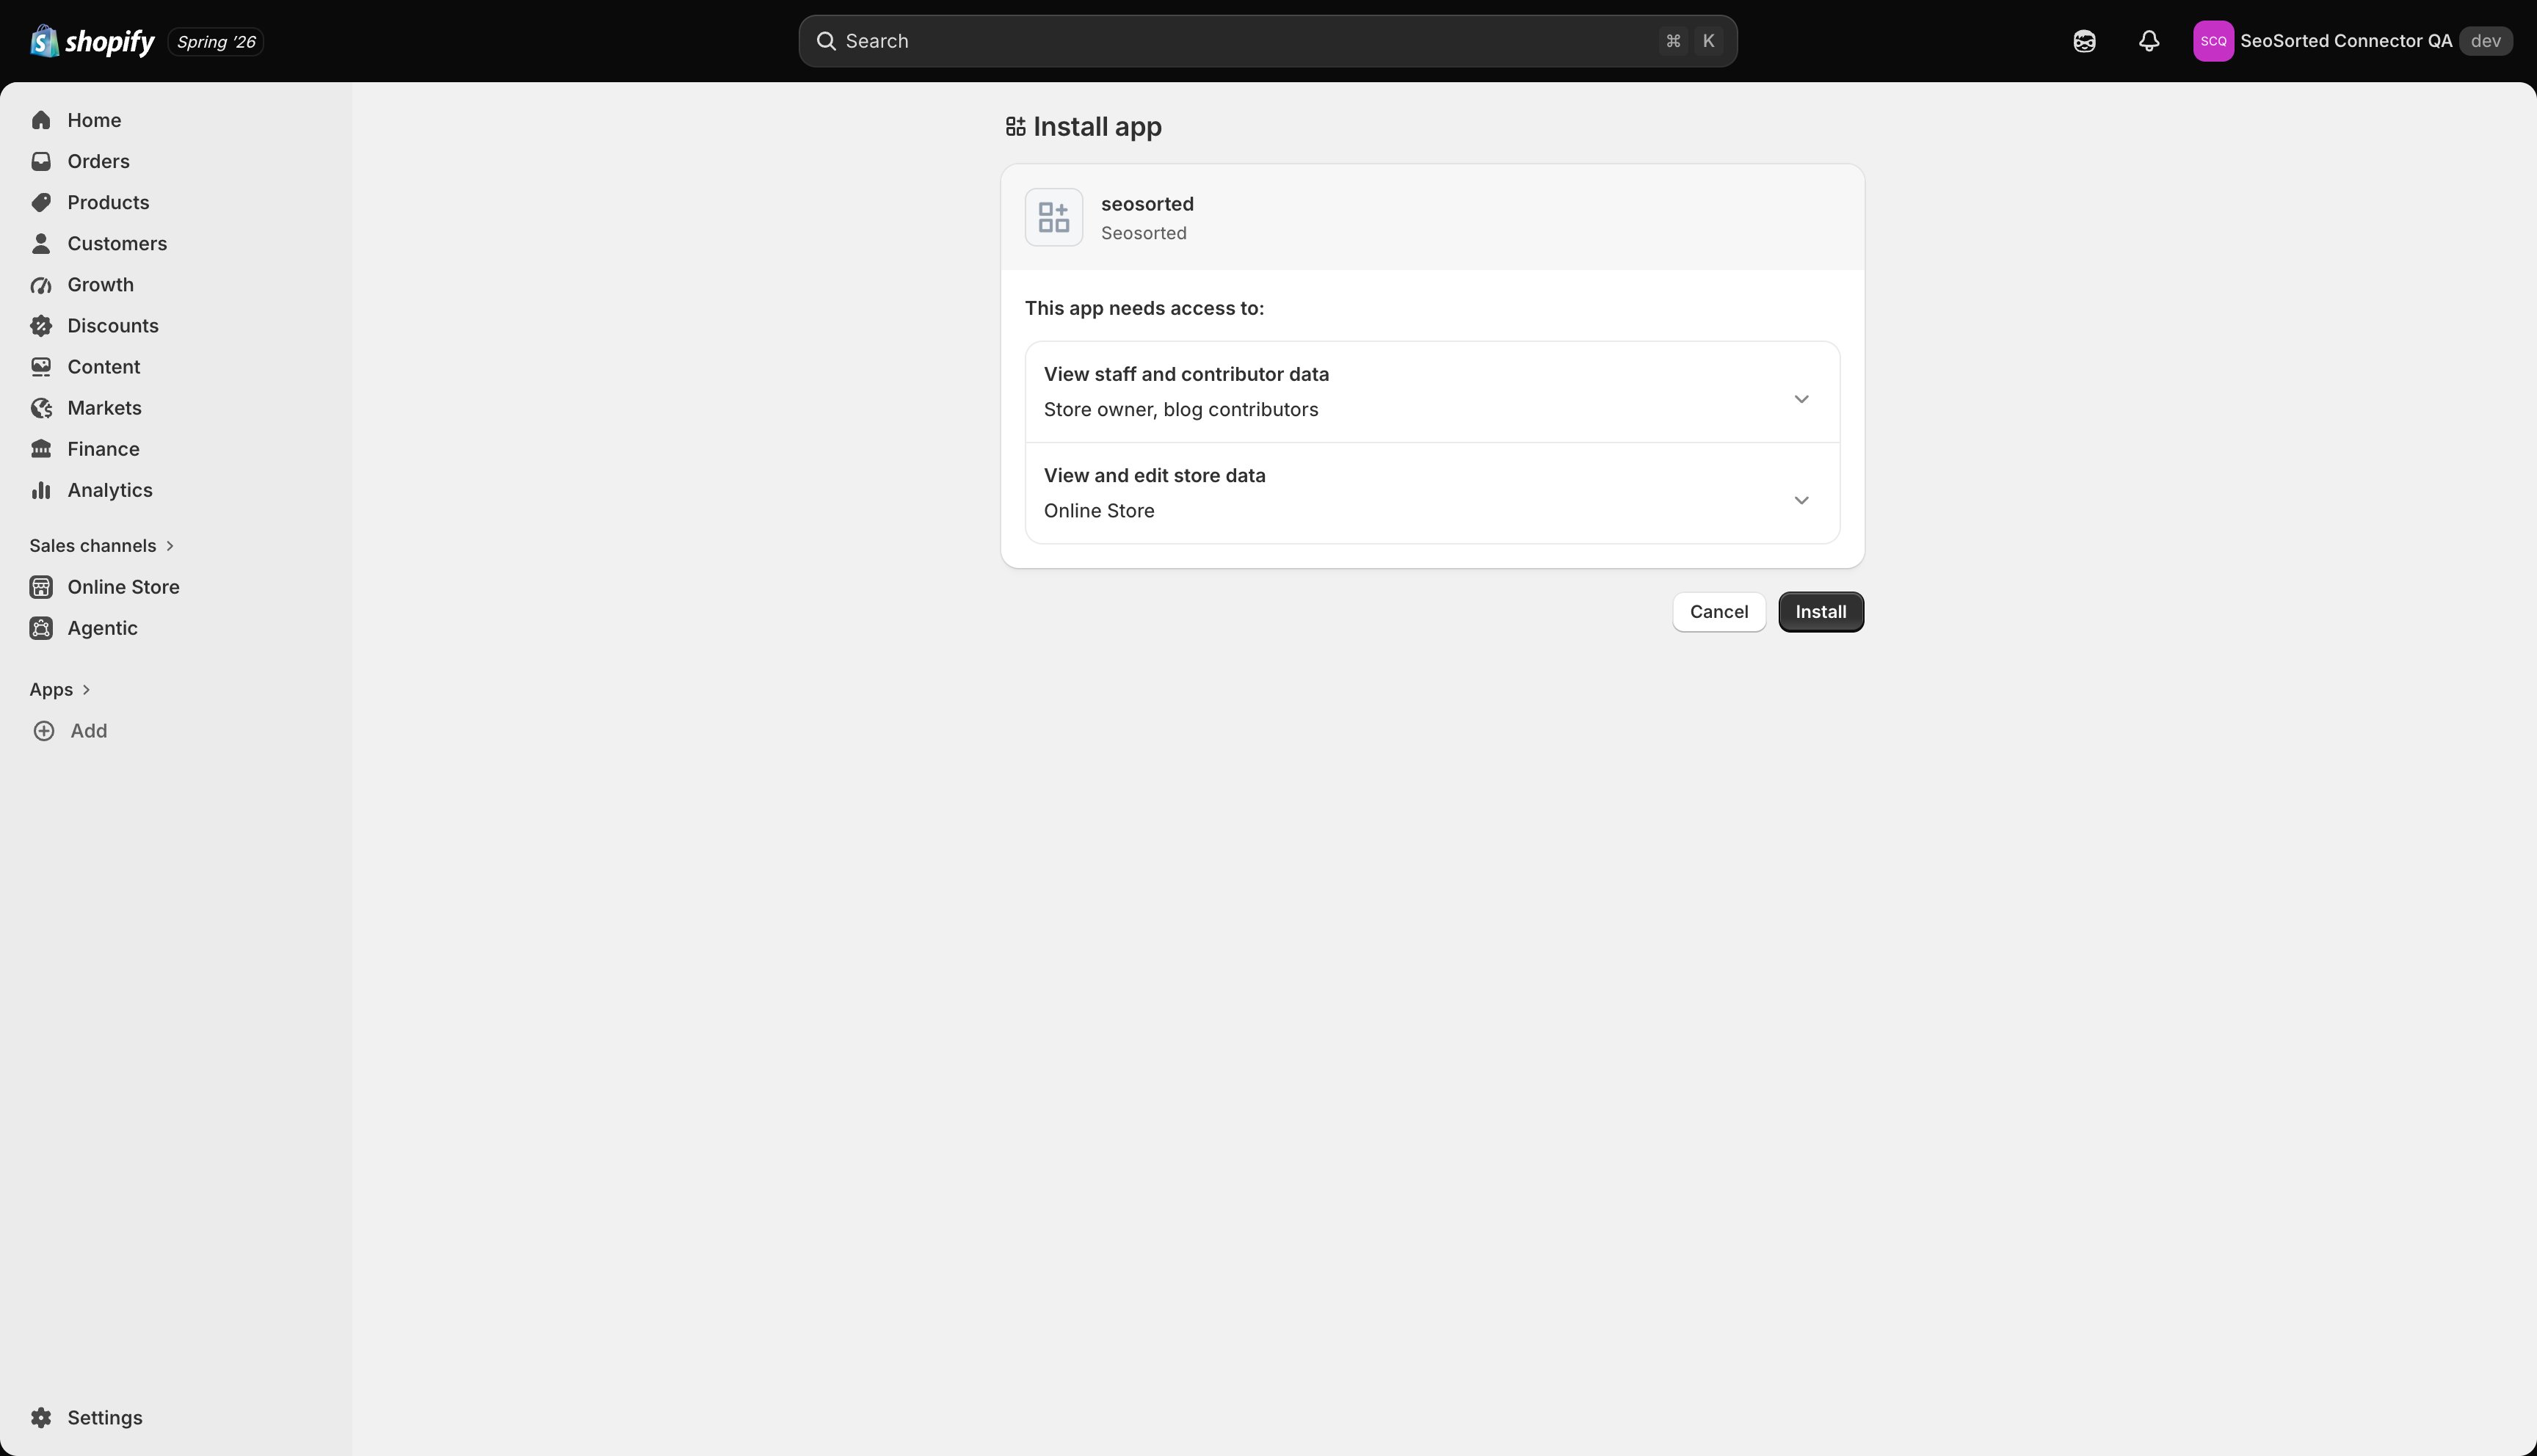
Shopify's install screen — content access only
Step 3 — Pick a blog
The card shows Setup required — pick a blog.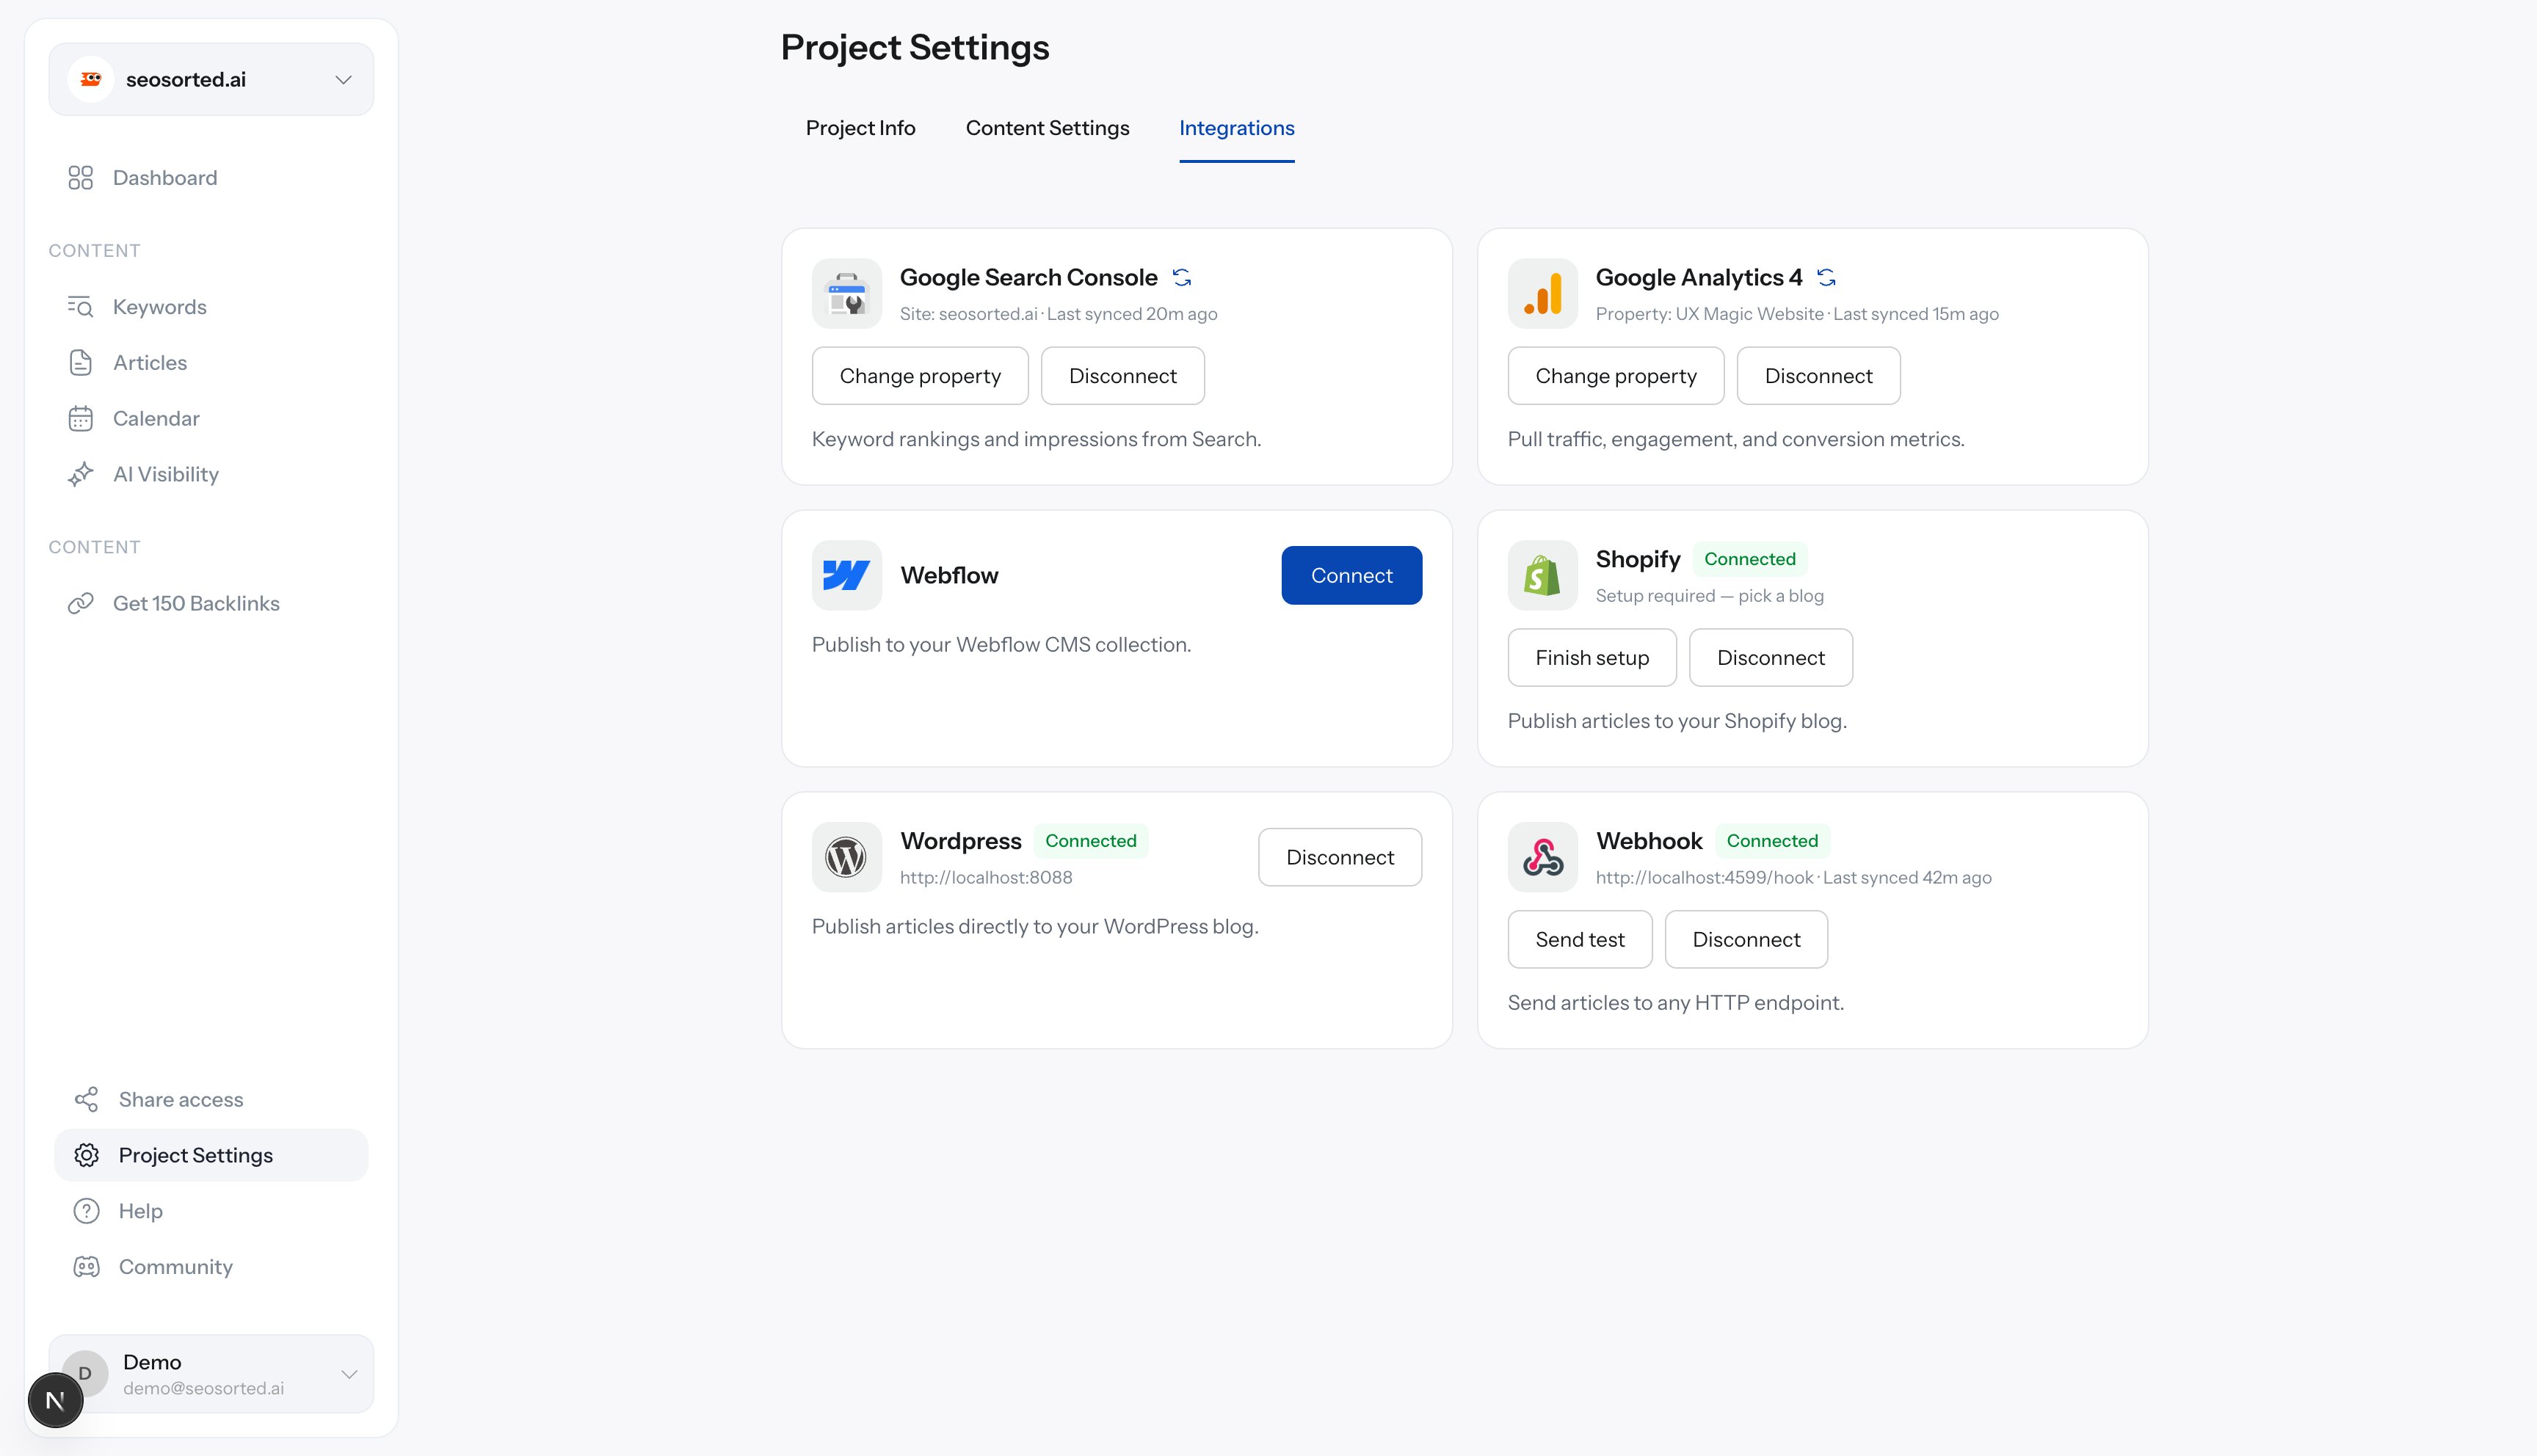
Connected, one step left
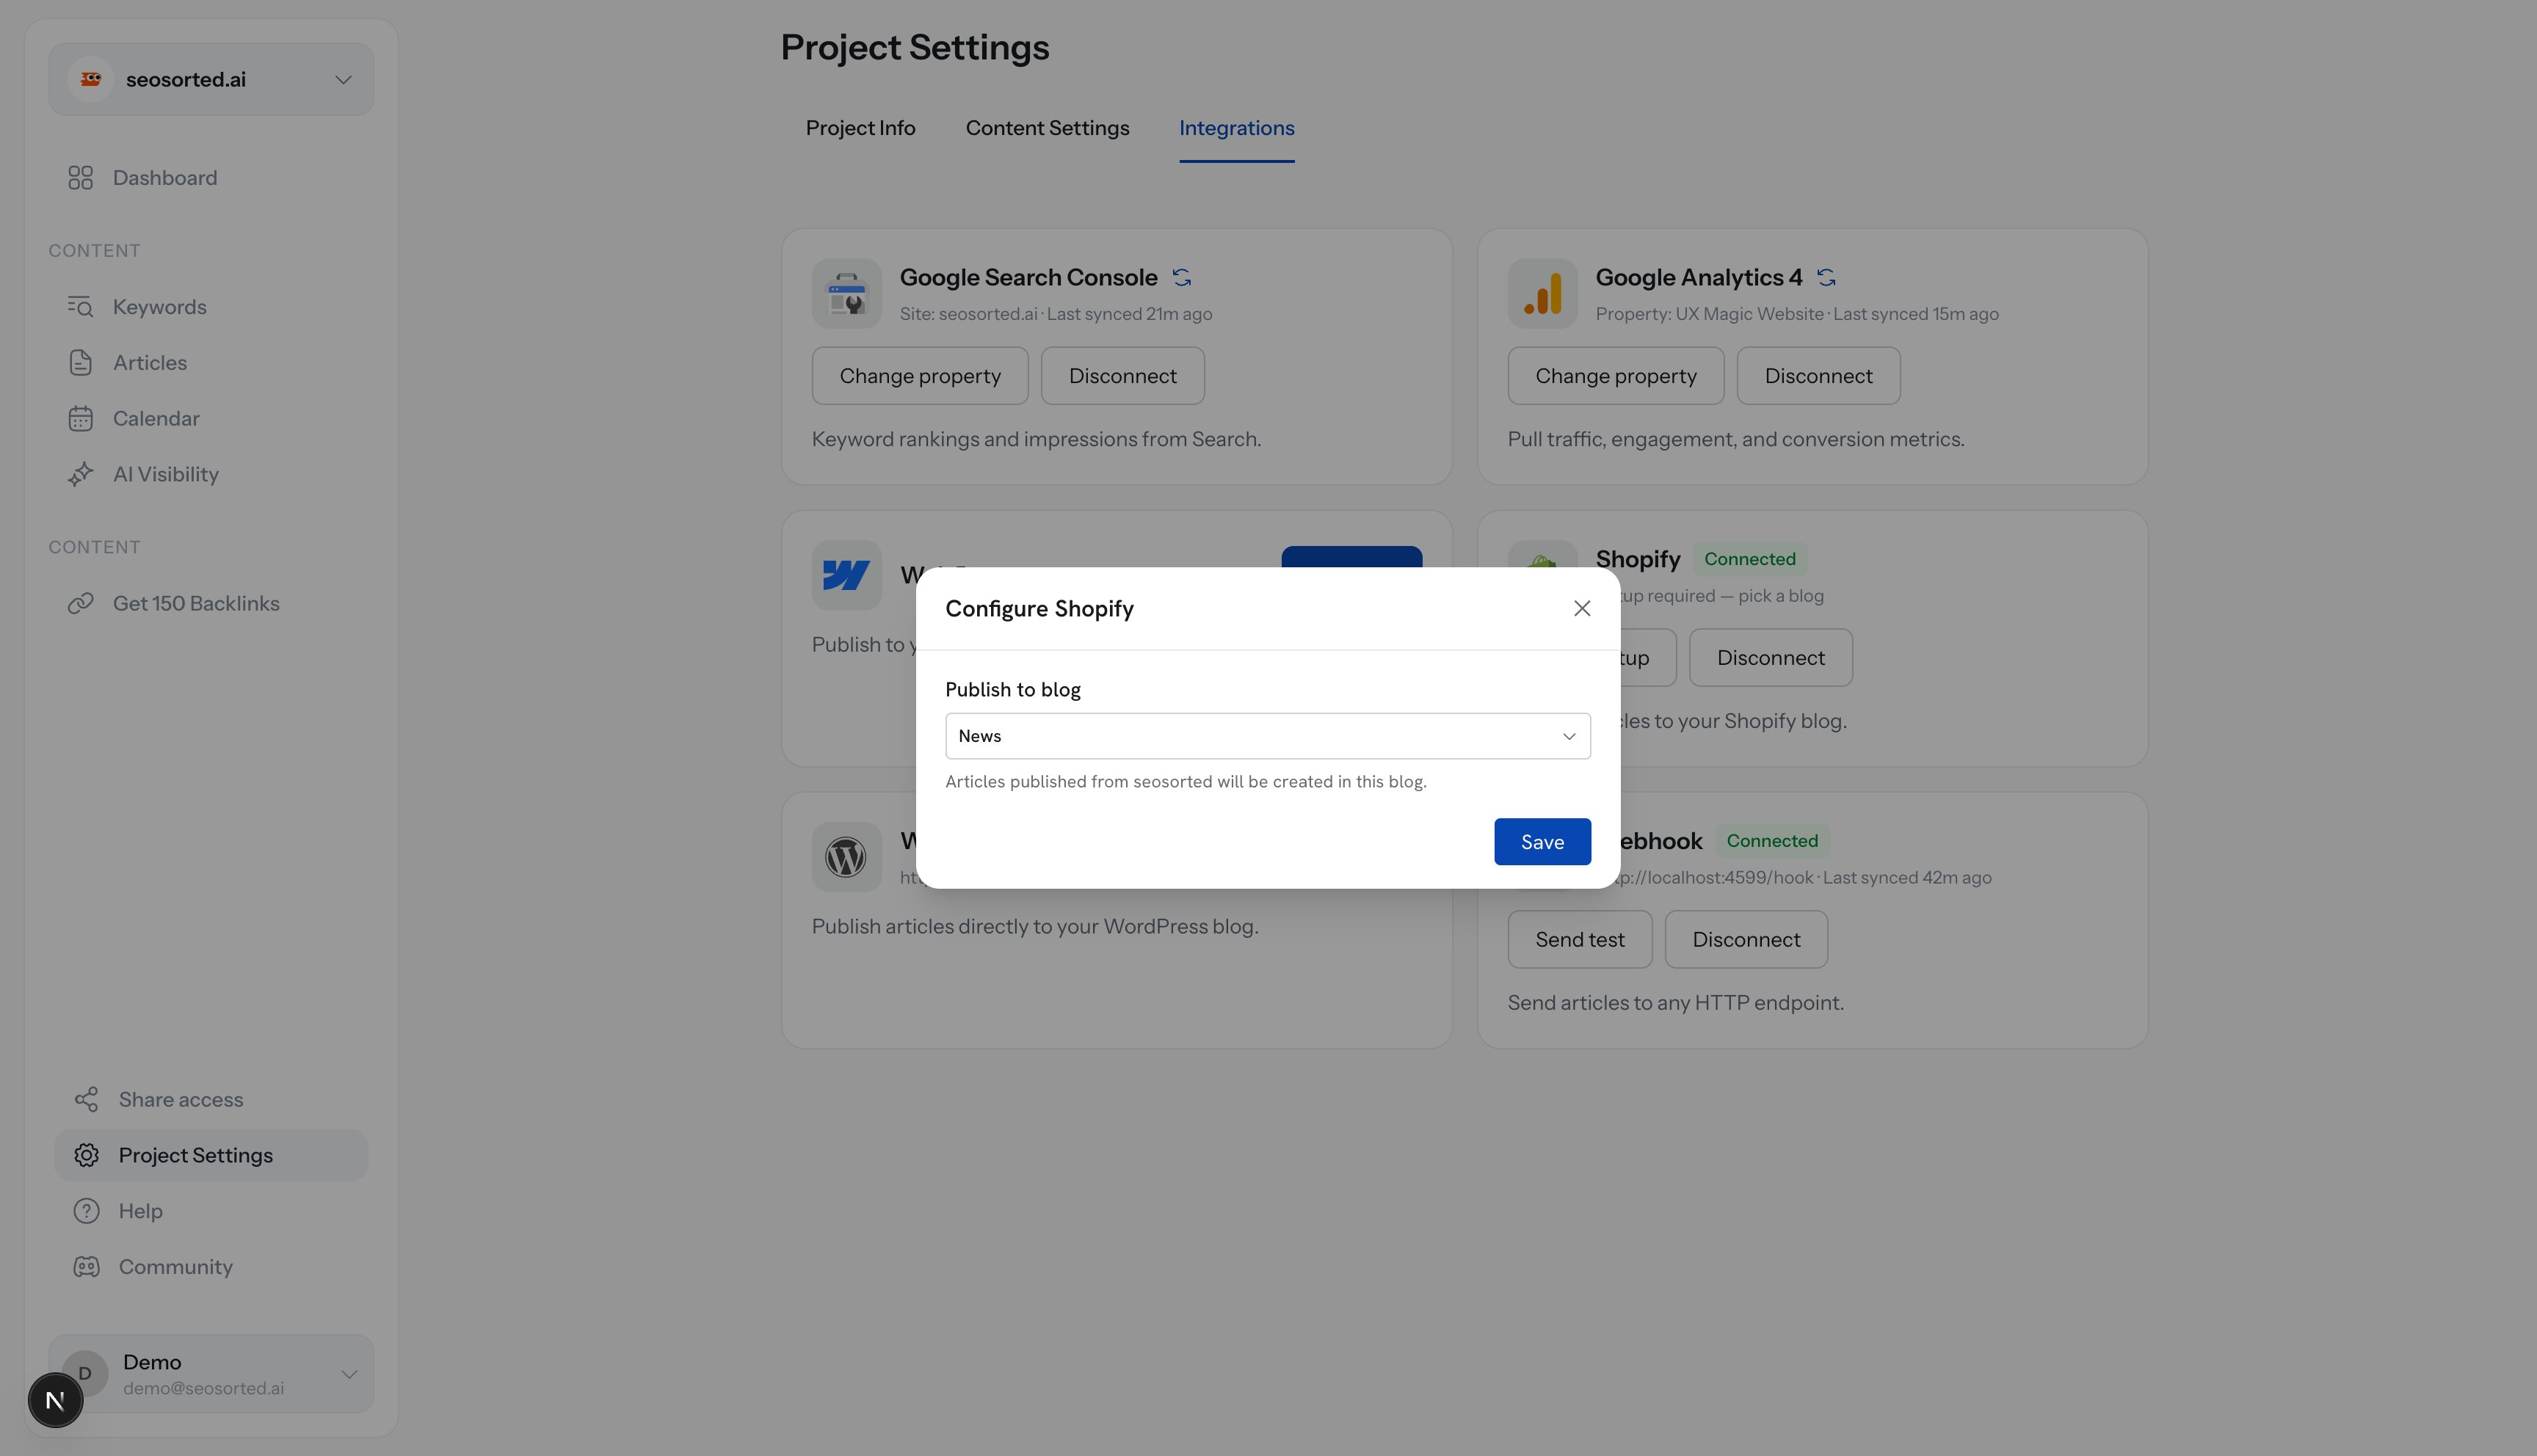
Choosing the destination blog
Step 4 — Publish
Open an article, click Publish, choose Shopify, then Publish now.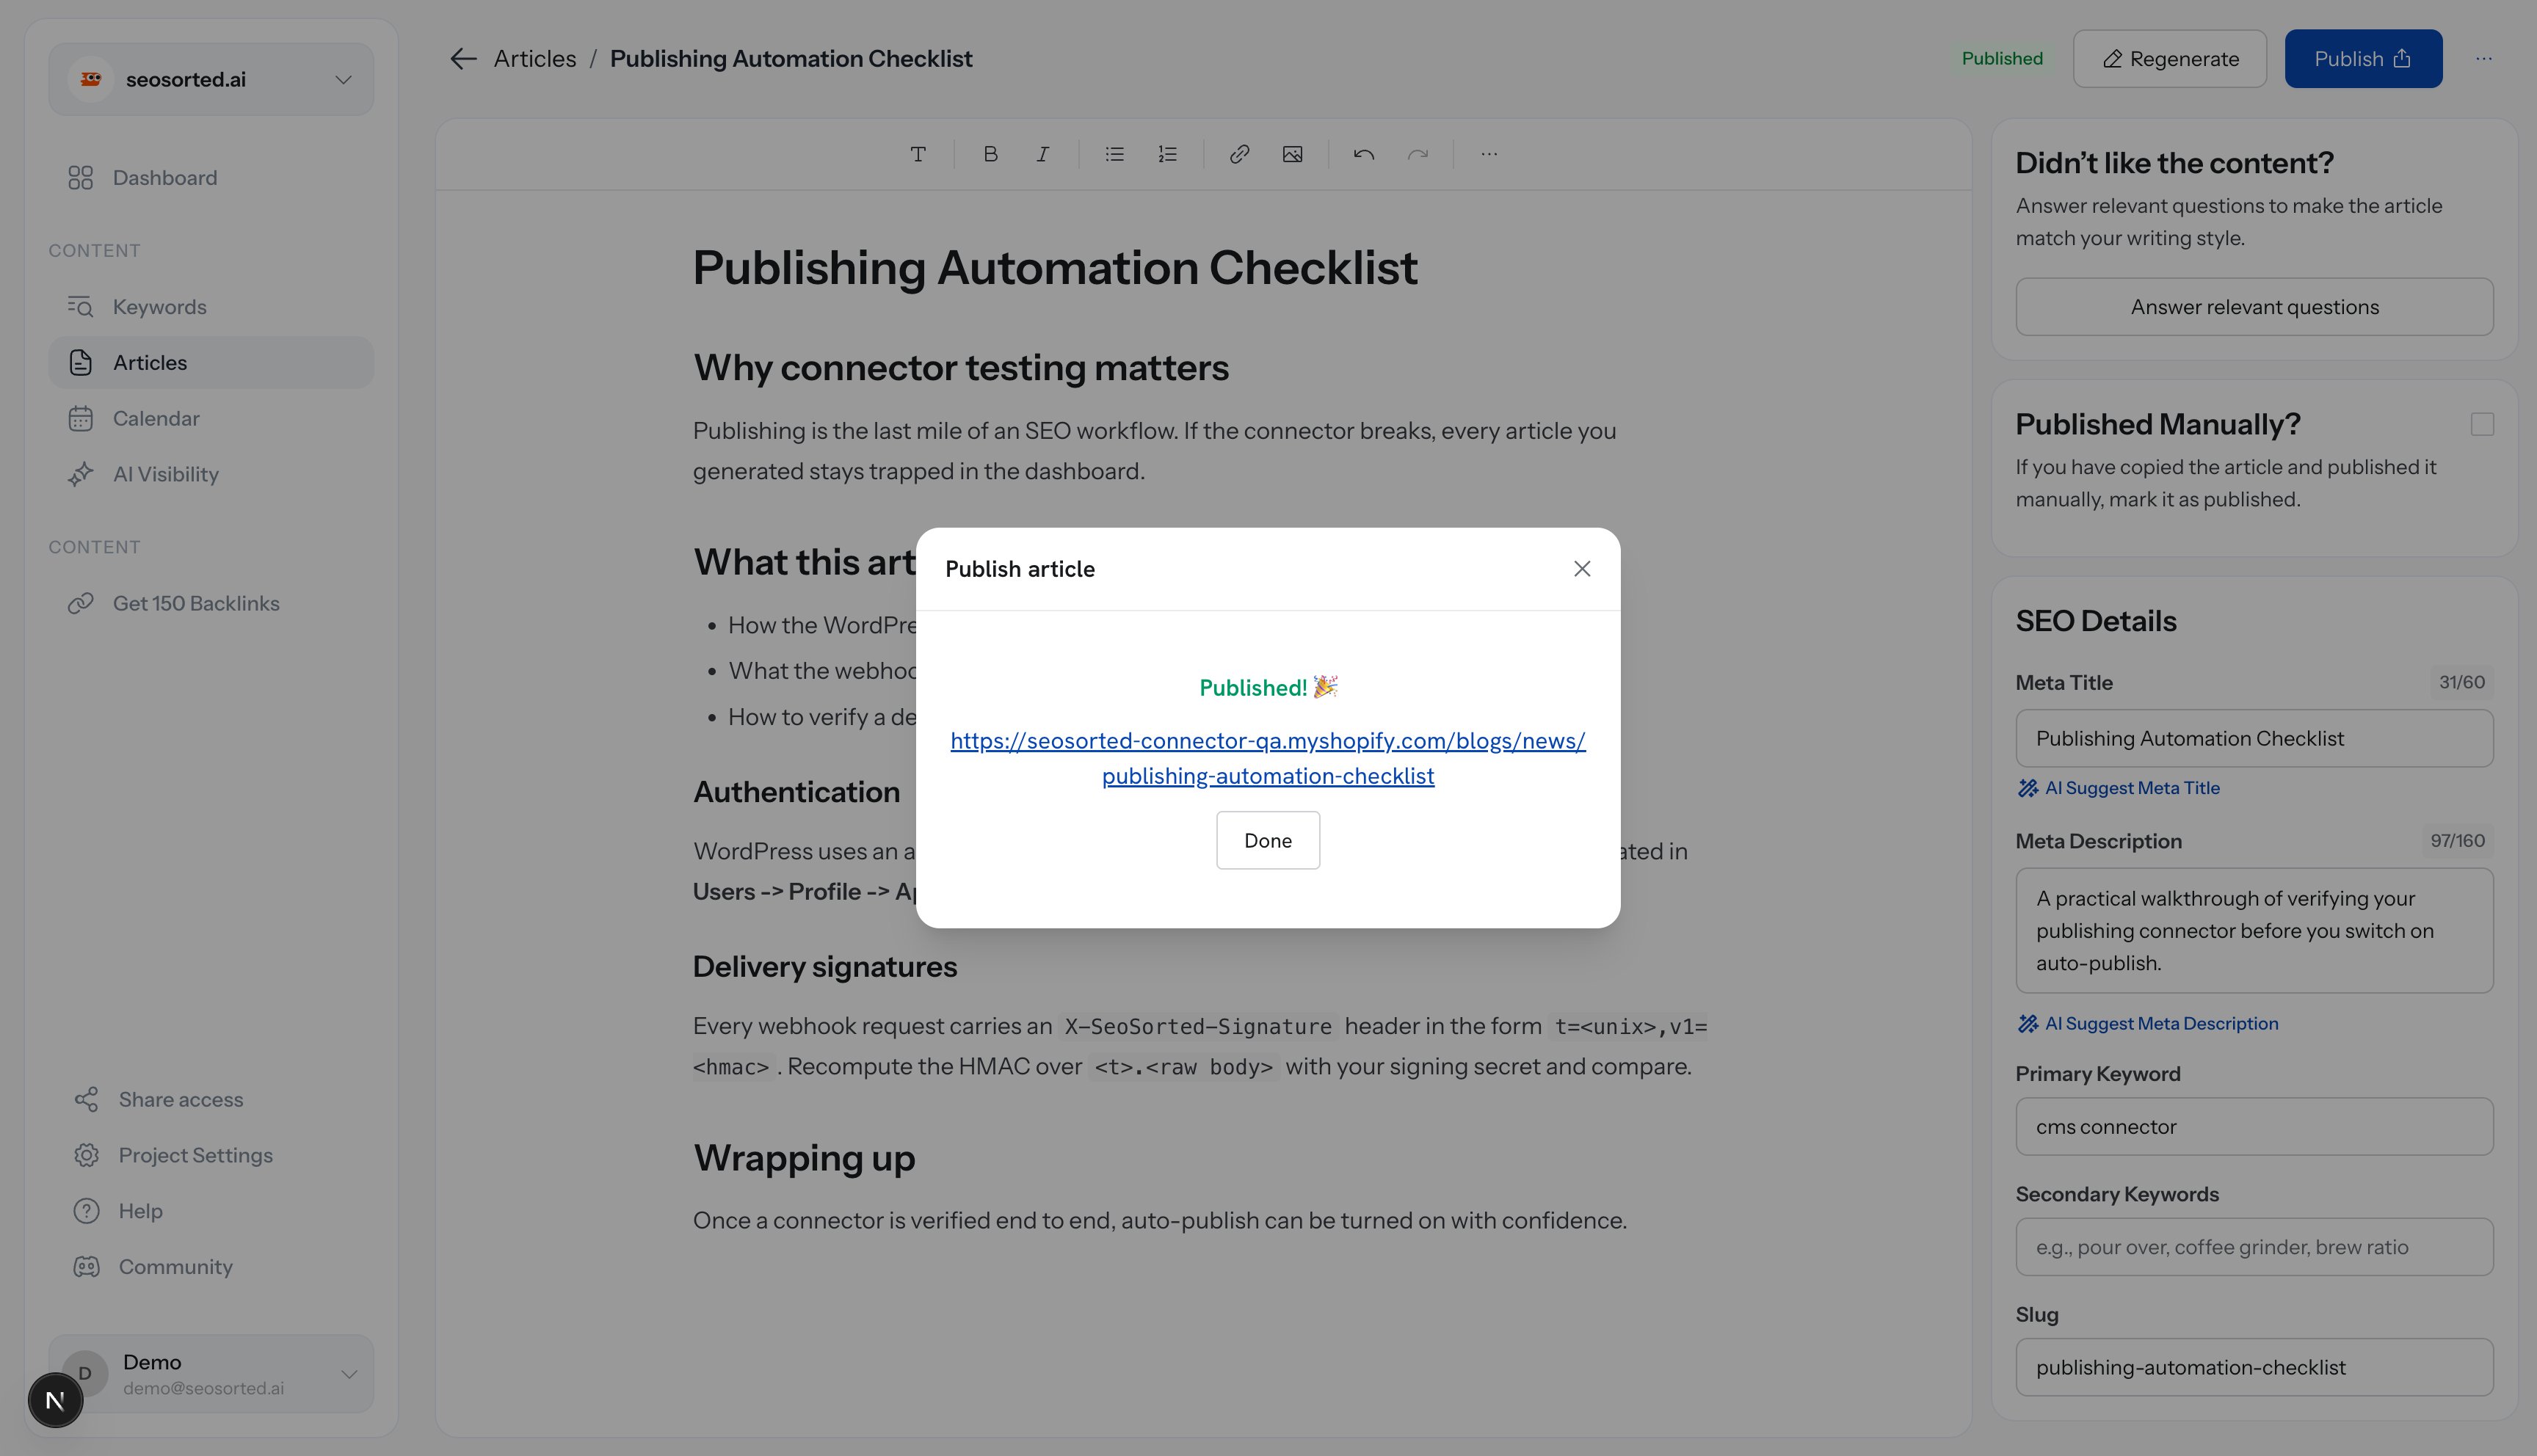
Published, with a link to the storefront article
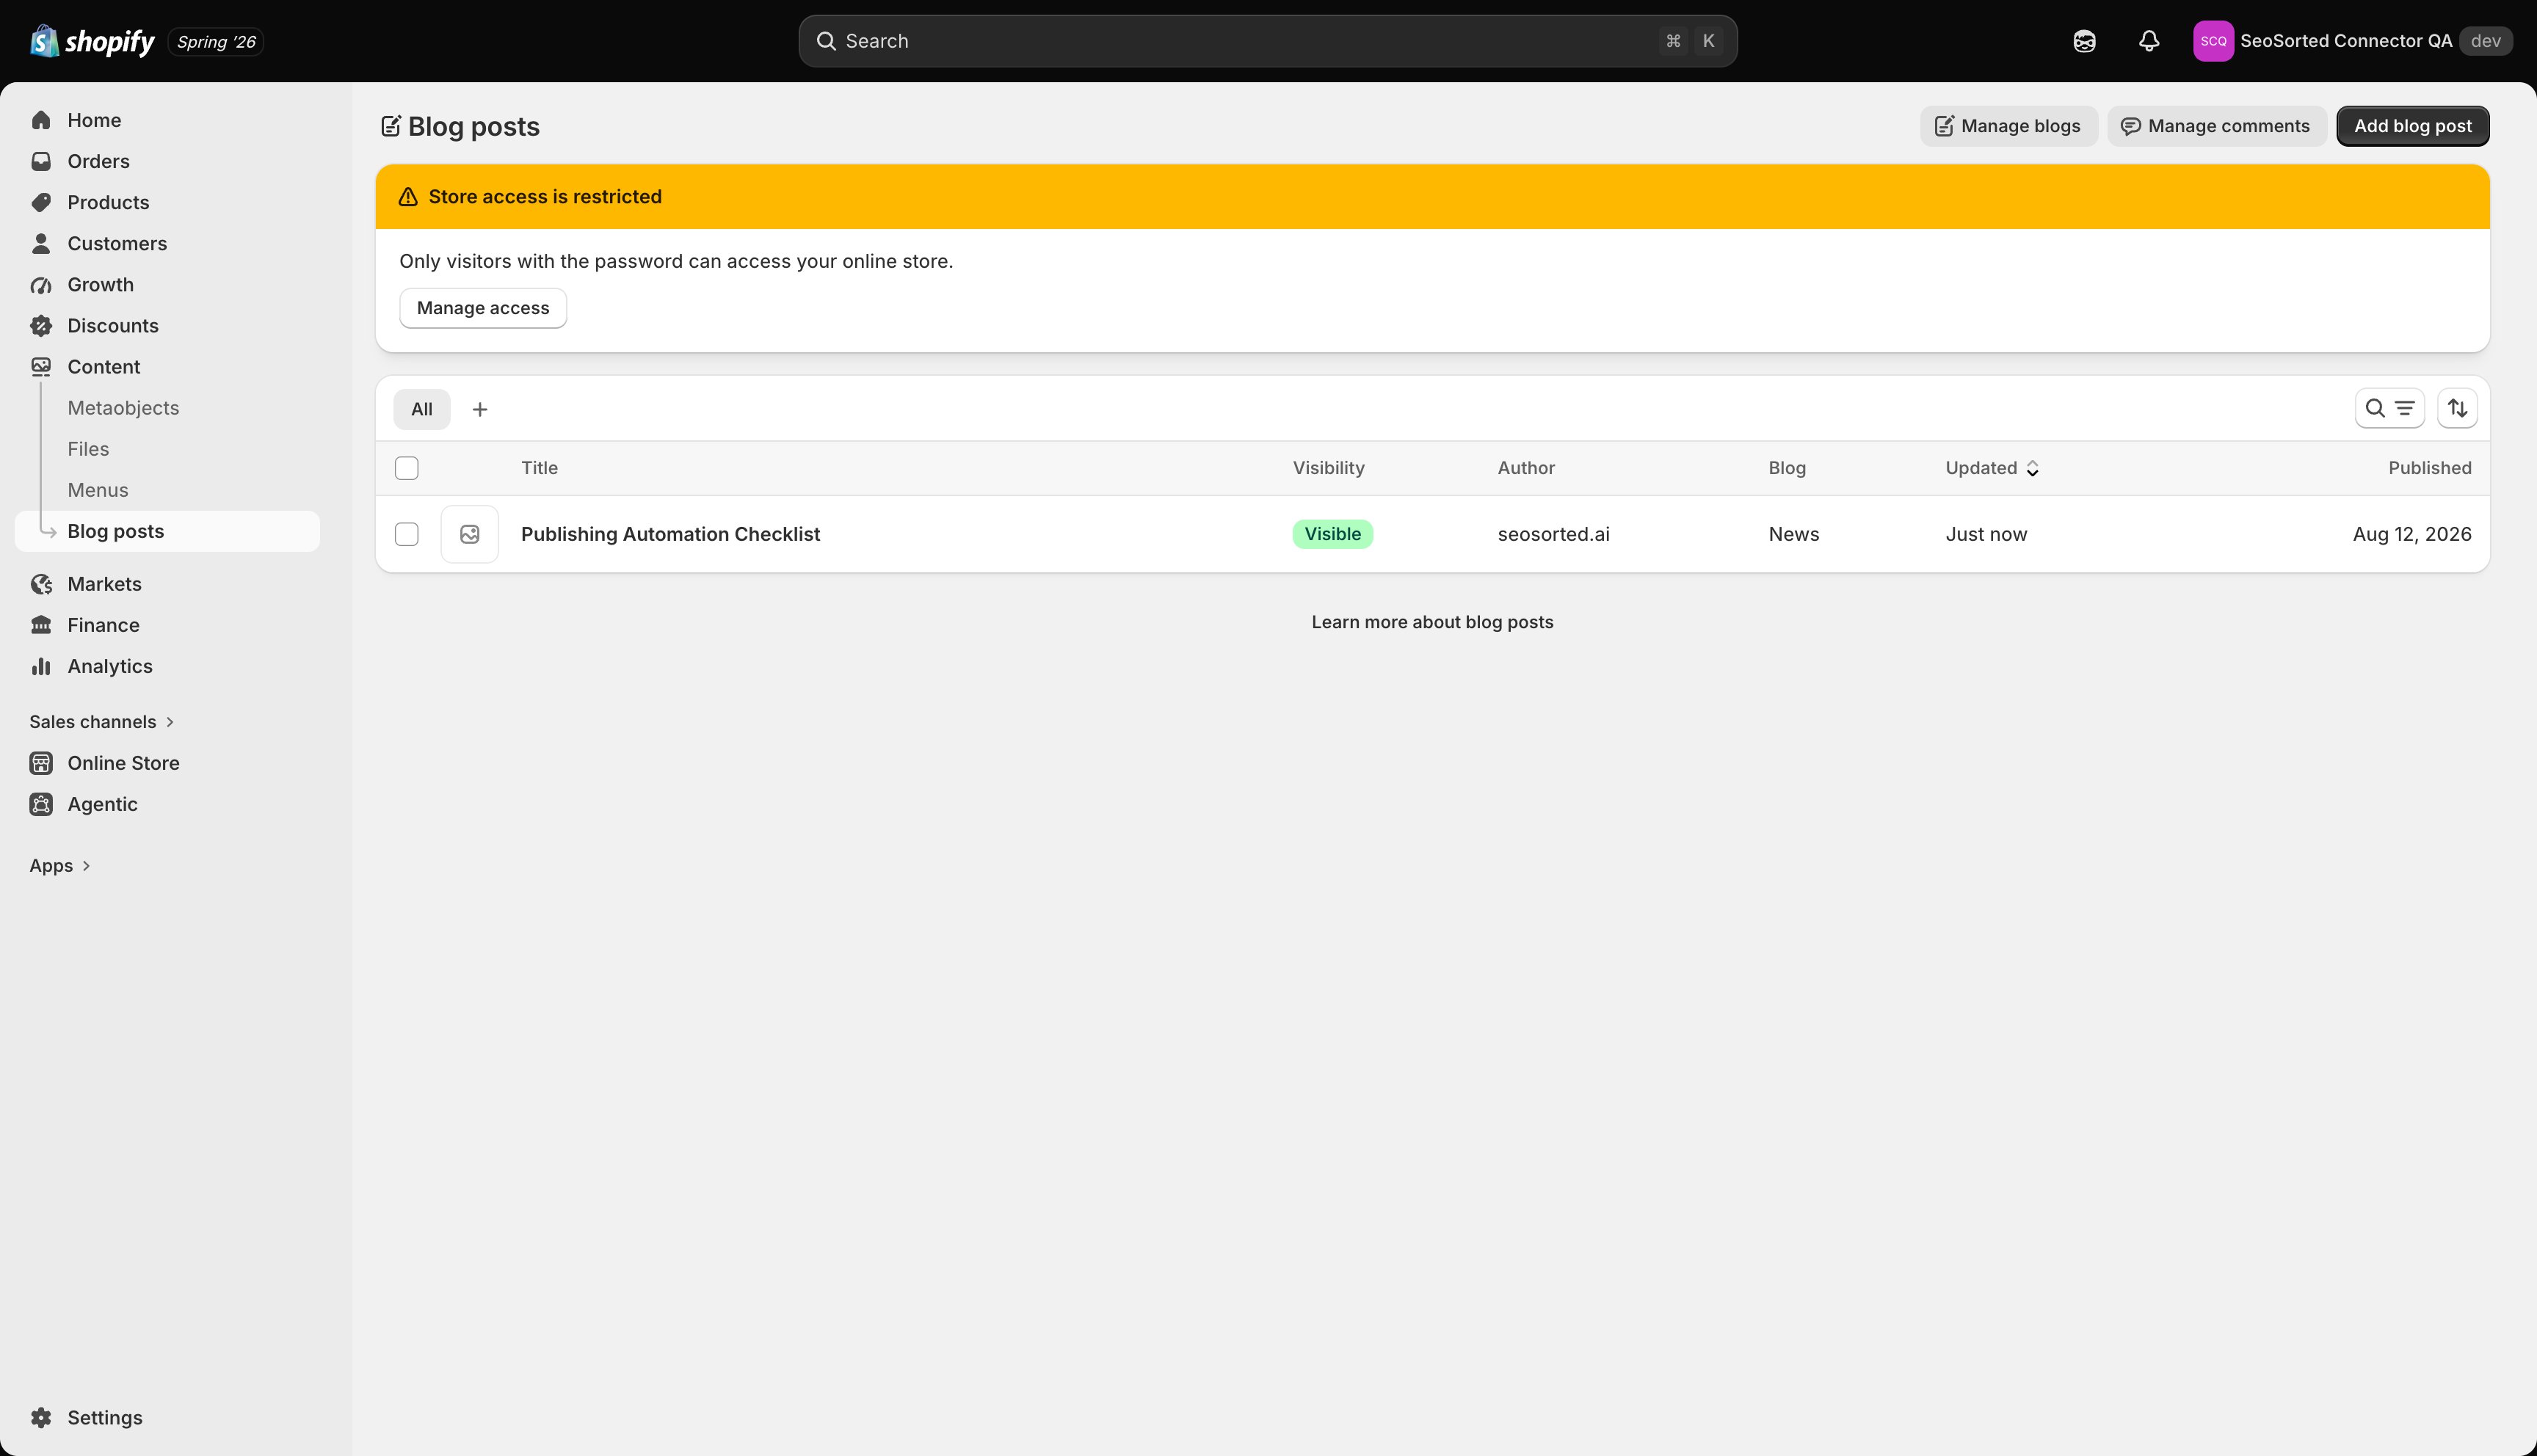
The article in the Shopify admin
The success dialog links to the
myshopify.com URL, which redirects to your custom domain. On a
development store — or any store with password protection on — that link asks for the storefront
password before it renders.Common problems
“Enter your permanent Shopify domain…”
“Enter your permanent Shopify domain…”
You entered a custom domain or something that isn’t a store handle. Use
yourstore.myshopify.com.Clicking Connect lands on a Shopify billing or “reactivate your store” page
Clicking Connect lands on a Shopify billing or “reactivate your store” page
The store’s plan is paused, frozen or cancelled. Shopify redirects app installs to
reactivation until billing is active again. Reactivate the store, then connect.
Shopify says the app can't be installed
Shopify says the app can't be installed
Your staff account lacks app-install permission. Ask the store owner to run the connection,
or have them grant you the permission.
No blogs to choose from
No blogs to choose from
The store has no blog yet. Create one in Shopify admin → Content → Blog posts → Manage
blogs, then reopen the setup dialog.